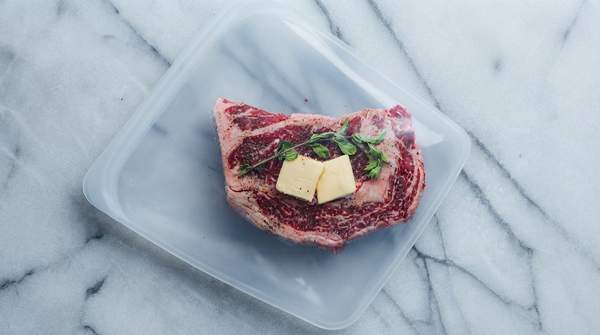
Sous vide cooking solves the single most common problem in home cooking: the gap between the doneness you want and the doneness you get. By sealing food in a bag and holding it in a precisely controlled, low-temperature water bath, you cook a steak or chicken breast to an exact target temperature and hold it there — no overcooked exterior, no undercooked center. The technique, whose name means "under vacuum" in French, has moved from high-end restaurant kitchens into home kitchens as affordable immersion circulators have become widely available, and the core decision a cook makes is simple once understood: are you just heating a tender food through, or tenderizing a tough cut over a much longer period?
Introduction to Sous Vide: The Science of Precision Cooking
The reason sous vide works so well comes down to how heat moves. Food is vacuum sealed in a bag and cooked in a water bath held at a precise, relatively low temperature for an extended time. Because the water never gets hotter than your target temperature, the food physically cannot overshoot it — it can only approach the bath temperature and then stop. That is what produces edge-to-edge uniform doneness in proteins like steak and chicken, along with a tender texture and retained moisture.
The physics explains why water beats an oven. Douglas Baldwin, author of a practical guide to sous vide cooking aimed at science-minded cooks, notes that water baths have surface heat transfer coefficients of roughly 95–155 W/m²-K, while home and low-convection commercial ovens manage only 14–30 W/m²-K. In practice, that means water transfers heat to food far more efficiently and forgivingly than air: even large deviations in the water bath's heat transfer cause only minor deviations in the food's core temperature, whereas in an oven, small deviations can produce large swings in how cooked your food actually is.
Traditional methods compound the problem with temperature itself. As Anova Culinary's explainer on the technique puts it, ovens, pressure cookers, and skillets simply don't give you the same level of control over heat, which makes it challenging to consistently cook great food. The typical result is food that ends up overcooked on the outside with only a small portion in the center cooked to the desired temperature. Sous vide inverts that: because you cook at a precise temperature for a precise time, results are repeatable, and because food cooks in its own sealed juices, flavor concentrates rather than evaporates.
Essential Equipment for Sous Vide Cooking
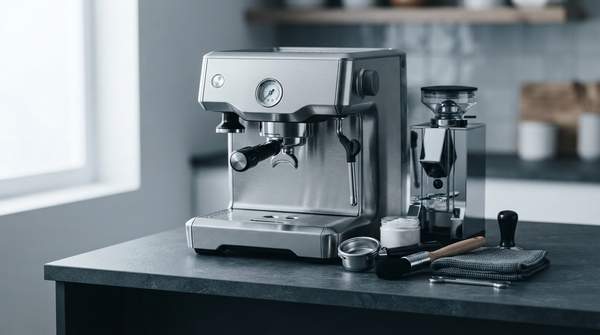
Getting started requires only a few pieces of gear, and none of it needs to be exotic. The heart of the setup is an immersion circulator — a small device that clips to the side of a container, heats the water, and circulates it while holding it at your set temperature. The circulation matters: moving water maintains even heat distribution throughout the bath so every part of the bag cooks at the same rate.
Second, you need a container for the water bath. Any adequately sized pot or food-safe vessel that the circulator can clip to and that holds enough water to submerge your food will serve; the key is enough depth and volume for stable temperature holding.
Third, you need bags and a way to seal them. Food is vacuum sealed in a bag, which removes air — and removing air matters for two reasons. It ensures efficient heat exchange between the water and the food, since trapped air insulates, and it keeps the food's juices and flavors inside the bag rather than leaking into the bath. A dedicated vacuum sealer is the classic approach, but the essential function is simply getting the air out and getting a reliable seal.
Jason Logsdon, whose beginner's guide at Amazing Food Made Easy has long served as a reference for new sous vide cooks, notes that questions about vacuum sealing and equipment are among the things that confuse newcomers — but once you understand a few basics, sous vide is, in his words, "one of the easiest and most foolproof ways to cook."
The Sous Vide Process: A Step-by-Step Guide
The workflow for a first cook is straightforward. Season your protein and place it in a bag with any aromatics you like, then seal it with the air removed. Fill your container with water, attach the circulator, and set your target temperature and time before the food goes in — the bath should be at temperature when you start.
Once the bath is ready, submerge the sealed bag fully and let the circulator do its work. The food will gradually rise to the bath temperature and stay there. Because the water temperature equals your target doneness, there is no window of a few minutes where you must pull the food out or risk ruining it; the food holds at doneness. This is the property that makes the technique forgiving for beginners.
When the time is up, remove the bag and the food. For steaks in particular, a brief finish in a very hot pan is customary to develop a browned exterior — the low bath temperatures that make sous vide precise don't produce the high-heat searing a skillet provides. The concept can feel intimidating at first precisely because it differs from traditional cooking, as Logsdon observes, but the process itself is short on technique and long on waiting.
Sous Vide Time and Temperature Decision Framework for Common Proteins
The single most important decision in sous vide is matching your time to your goal. There are two distinct jobs the water bath can do, and confusing them is the most common beginner error. Use the framework below to pick your settings before you start.
| Protein | Primary Goal | How to Set the Bath | Expected Result |
|---|---|---|---|
| Chicken breast | Heat through to doneness | Set the bath to your target doneness temperature; cook only long enough to heat through | Uniform doneness with retained moisture |
| Tender steak (e.g., tenderloin) | Heat through to doneness | Set the bath to your target doneness temperature; a relatively short cook heats it through | Edge-to-edge even doneness; sear afterward for crust |
| Tough steak (e.g., chuck) | Tenderize, then doneness | Set the bath to your target doneness temperature, but extend time dramatically — Logsdon recommends about two days for a medium-rare chuck steak | Connective tissue broken down; tender result at medium-rare doneness |
The reasoning path behind the table is the evidence's central insight: temperature sets doneness, while time sets texture. For tender foods — Logsdon names chicken breasts, fish, and several steaks — heating through is all that's needed, so the cook is short. For tough cuts, time is the active ingredient. As he puts it, you could cook a chuck steak in an hour, but the result would be "a chewy, fatty mess," even though it would technically be fully cooked. The bath temperature can't be raised to speed tenderization without changing the doneness, so the only lever left is duration.
Achieving Perfect Texture: Beyond Doneness
Texture is where sous vide separates itself most clearly from braising and roasting. Like those traditional methods, longer cooking makes meat more tender as connective tissue breaks down. The difference, Logsdon explains, is that adding time to sous vide doesn't overcook the outside layers of the food — the bath temperature caps how cooked anything can get. A two-day chuck steak emerges medium-rare throughout, not gray and well-done at the edges.
There is a trade-off, and it's worth stating plainly: because sous vide temperatures are so low, tenderization happens much more slowly than in a braise, resulting in much longer cooking times. The time needed increases as the food gets tougher and as your cooking temperature gets lower, and Logsdon notes these guidelines vary somewhat by the specific cut. That means a tough cut is a weekend project measured in days, not an hour — but it also means a tough, inexpensive cut can reach a tenderness at medium-rare doneness that conventional cooking can't deliver without overcooking it.
Two boundaries on this guide: it covers common proteins for beginners, not vegetables, grains, desserts, or advanced techniques, and it describes equipment types rather than recommending brands. On safety, sous vide relies on pasteurization achieved through the combination of time and temperature rather than the high heat of conventional cooking; holding food at a given temperature for a sufficient duration is what makes it safe, which is one more reason precise temperature control — not just flavor — is the technique's foundation.
Confidently Achieve Perfect Results with Sous Vide
Home cooks can confidently use sous vide to achieve consistent, perfectly cooked proteins by following the principles of precise temperature control and selecting appropriate time and temperature settings based on their desired outcome. The practical rule to carry into your first cook: pick the bath temperature for doneness, then pick the time for texture — short for tender cuts you're heating through, and dramatically longer for tough cuts you're tenderizing. The measurable indicator of success is a successfully cooked steak or chicken breast with uniform doneness and your desired texture on the first attempt: slice it open and check that the color and doneness are the same from edge to edge, with no overcooked outer layer and no undercooked center. If you see that uniformity, the technique is working, and every future cook becomes a matter of choosing two numbers.
Sources
- A Practical Guide to Sous Vide Cooking — Douglasbaldwin
- What is Sous Vide? — Anova Culinary
- Beginners Guide to Sous Vide Cooking — Amazing Food Made Easy